> ## Documentation Index
> Fetch the complete documentation index at: https://infisical.com/docs/llms.txt
> Use this file to discover all available pages before exploring further.
# Inject secrets during local development
> Store secrets in Infisical and deliver them to your local application without a `.env` file.
This quickstart guide walks you through the recommended secrets management workflow for local development. You'll create a [project](/docs/documentation/platform/secrets-mgmt/project), add secrets to one of its environments, and inject them into your local application using the [Infisical CLI](/docs/cli/overview), all without needing a `.env` file.
Prerequisites:
* An Infisical account on [Infisical Cloud](https://app.infisical.com) or a [self-hosted instance](/docs/self-hosting/overview)
* The [Infisical CLI](/docs/cli/overview) installed for your platform
* An application or script you run locally
## Step 1: Configure in Infisical
### Create a project
In Infisical, a [project](/docs/documentation/platform/secrets-mgmt/project) holds all secrets for one application or service. To create a project:
Log in to [Infisical](https://app.infisical.com).
Select **Secrets Management** > **+ Add New Project**.
In the **Project Name** field, enter a name for the project (e.g., `orders-service`).
Select **Create Project**.
This opens your new project in the **Development** environment:
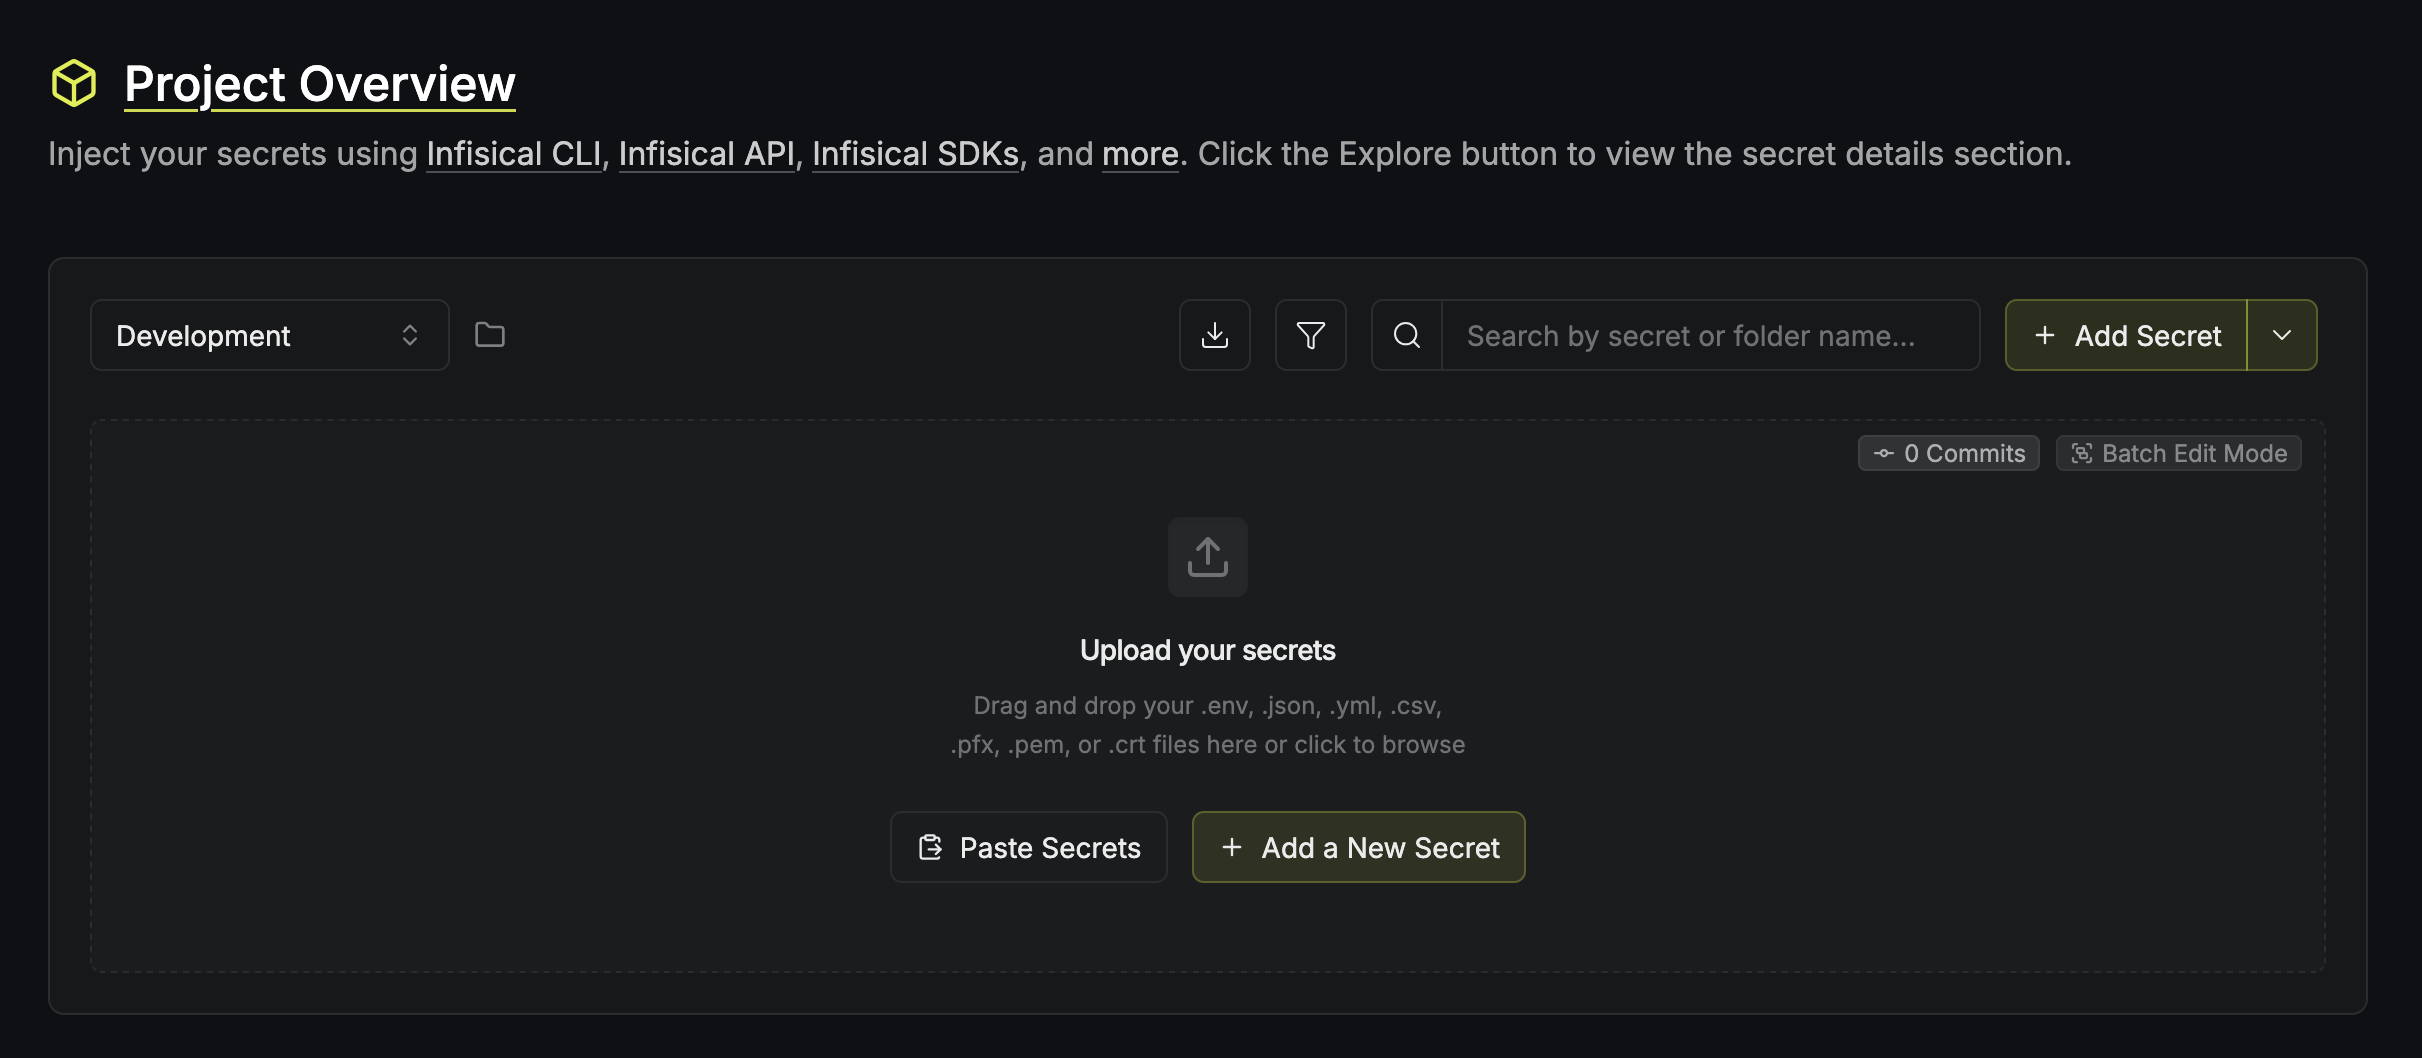 Within a project, secrets are organized across [environments](/docs/documentation/platform/secrets-mgmt/project#project-environments). Every new project starts with three environments: **Development**, **Staging**, and **Production**.
### Add your secrets
You have two options for adding secrets to your project:
To create a new secret from scratch:
Select **+ Add a New Secret**.
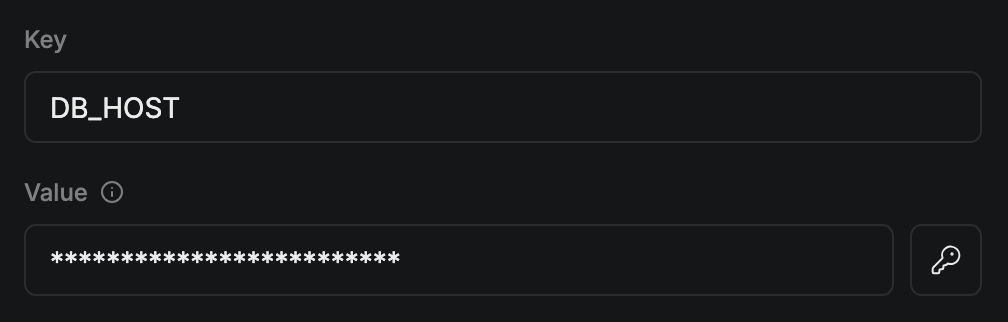
In the **Key** and **Value** fields, enter a key-value pair. For example:
Within a project, secrets are organized across [environments](/docs/documentation/platform/secrets-mgmt/project#project-environments). Every new project starts with three environments: **Development**, **Staging**, and **Production**.
### Add your secrets
You have two options for adding secrets to your project:
To create a new secret from scratch:
Select **+ Add a New Secret**.
In the **Key** and **Value** fields, enter a key-value pair. For example:
 Select **Create Secret**.
Repeat these steps for each key-value pair you want to add.
To import secrets from an existing file:
Drag and drop the file containing your secrets (or enter the file's contents manually by selecting **Paste Secrets**).
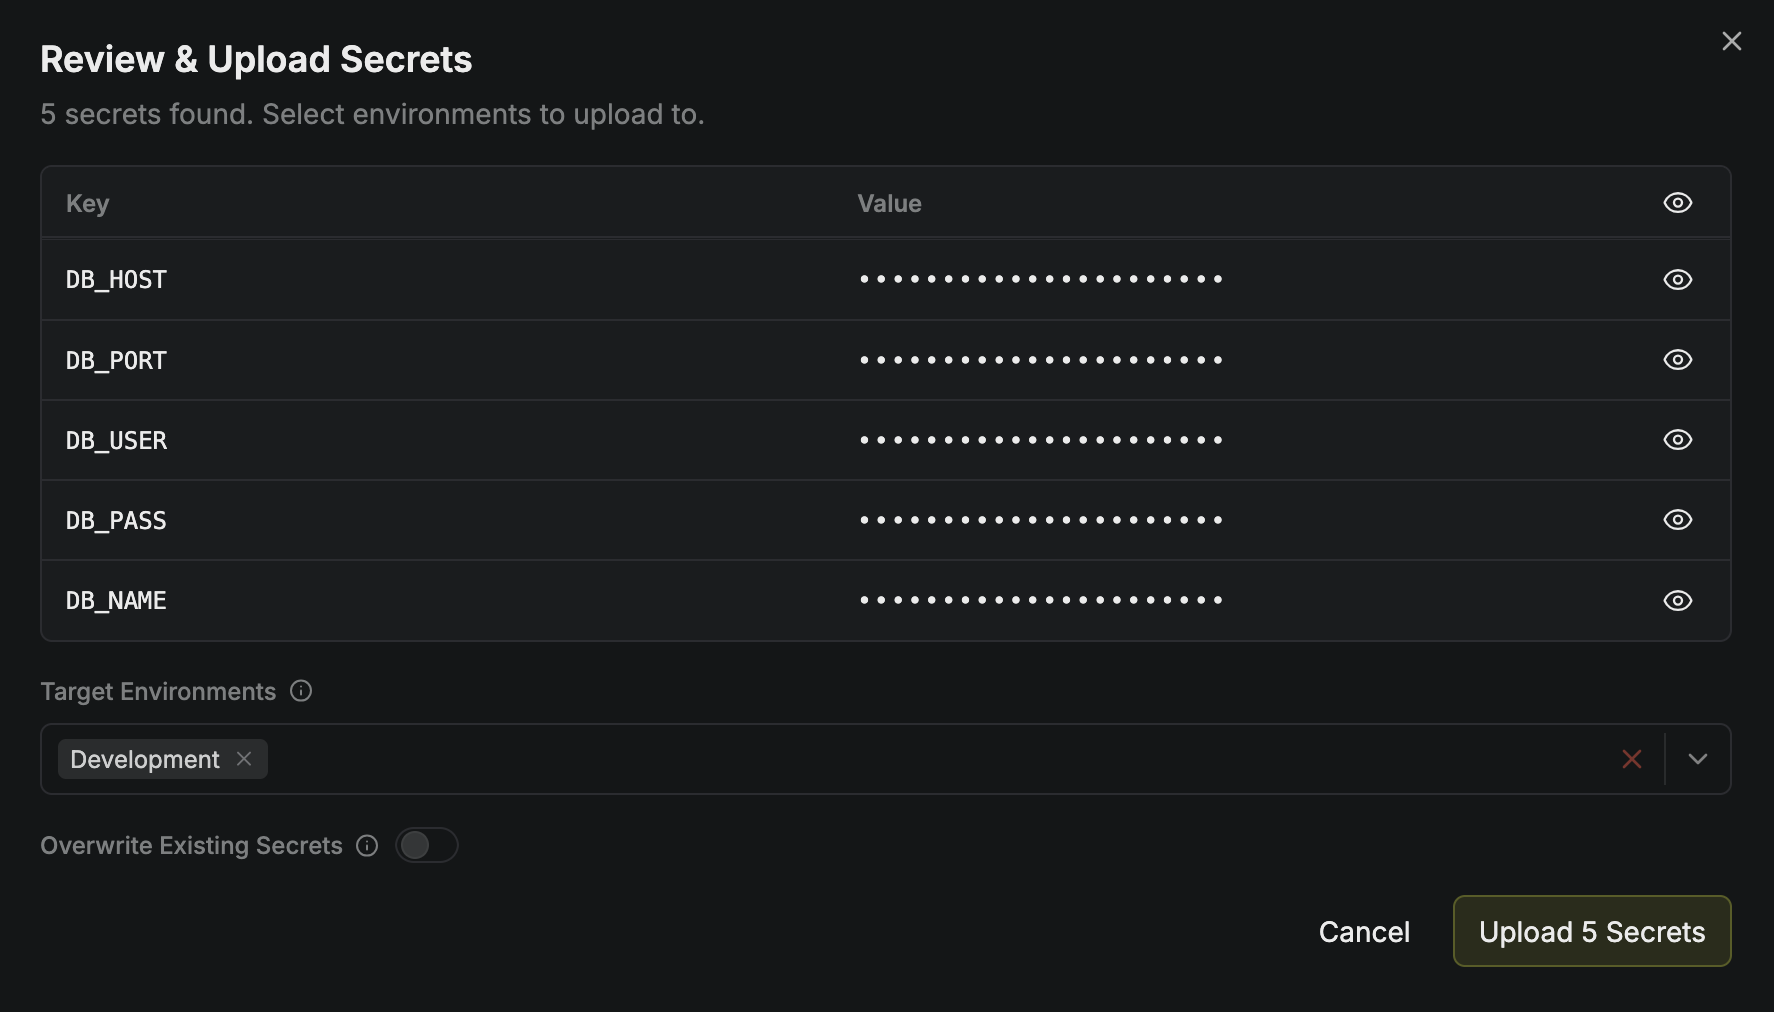
Review the discovered secrets. For example:
Select **Create Secret**.
Repeat these steps for each key-value pair you want to add.
To import secrets from an existing file:
Drag and drop the file containing your secrets (or enter the file's contents manually by selecting **Paste Secrets**).
Review the discovered secrets. For example:
 Select **Upload Secrets**.
## Step 2: Connect your app to Infisical
Now that you've set up a project that holds your secrets in Infisical, you can connect your application and give it access to those secrets at runtime.
### Authenticate with the CLI
Authenticate with the Infisical CLI by running [`infisical login`](/docs/cli/commands/login):
```bash theme={"dark"}
infisical login
```
This prompts you to select your hosting option, then opens your browser to complete the login.
In a containerized environment such as WSL 2 or Codespaces, run `infisical login -i` to avoid browser-based login.
### Connect your project
Next, connect your application to your Infisical project:
In your application's directory, link it to the Infisical project you created by running [`infisical init`](/docs/cli/commands/init):
```bash theme={"dark"}
infisical init
```
Follow the prompts to select the organization/project where you created your secrets earlier. This writes a `.infisical.json` file to your project with [local project settings](/docs/cli/project-config):
```json .infisical.json theme={"dark"}
{
"workspaceId": "xxxxxxxx-xxxx-xxxx-xxxx-xxxxxxxxxxxx",
"defaultEnvironment": "",
"gitBranchToEnvironmentMapping": null
}
```
`.infisical.json` files contain no secrets and are safe to commit to version control systems like git.
## Step 3: Inject secrets into your app
Now that your Infisical project is configured within your application, Infisical can provide the secrets.
Start your application by wrapping its start command with [`infisical run`](/docs/cli/commands/run):
```bash Node.js theme={"dark"}
infisical run --env=dev -- npm run dev
```
```bash Flask theme={"dark"}
infisical run --env=dev -- flask run
```
```bash Go theme={"dark"}
infisical run --env=dev -- go run main.go
```
Infisical fetches the secrets and injects them as environment variables. This lets your application read the secrets from its environment at runtime.
You can now manage your application's secrets through Infisical without needing a `.env` file.
## Next Steps
Understand how projects, environments, folders, and secrets fit together.
Deliver secrets to production with SDKs, agents, Kubernetes, and CI/CD.
Set up a secure local development workflow for your whole team.
Scope who can access which environments and paths.
Select **Upload Secrets**.
## Step 2: Connect your app to Infisical
Now that you've set up a project that holds your secrets in Infisical, you can connect your application and give it access to those secrets at runtime.
### Authenticate with the CLI
Authenticate with the Infisical CLI by running [`infisical login`](/docs/cli/commands/login):
```bash theme={"dark"}
infisical login
```
This prompts you to select your hosting option, then opens your browser to complete the login.
In a containerized environment such as WSL 2 or Codespaces, run `infisical login -i` to avoid browser-based login.
### Connect your project
Next, connect your application to your Infisical project:
In your application's directory, link it to the Infisical project you created by running [`infisical init`](/docs/cli/commands/init):
```bash theme={"dark"}
infisical init
```
Follow the prompts to select the organization/project where you created your secrets earlier. This writes a `.infisical.json` file to your project with [local project settings](/docs/cli/project-config):
```json .infisical.json theme={"dark"}
{
"workspaceId": "xxxxxxxx-xxxx-xxxx-xxxx-xxxxxxxxxxxx",
"defaultEnvironment": "",
"gitBranchToEnvironmentMapping": null
}
```
`.infisical.json` files contain no secrets and are safe to commit to version control systems like git.
## Step 3: Inject secrets into your app
Now that your Infisical project is configured within your application, Infisical can provide the secrets.
Start your application by wrapping its start command with [`infisical run`](/docs/cli/commands/run):
```bash Node.js theme={"dark"}
infisical run --env=dev -- npm run dev
```
```bash Flask theme={"dark"}
infisical run --env=dev -- flask run
```
```bash Go theme={"dark"}
infisical run --env=dev -- go run main.go
```
Infisical fetches the secrets and injects them as environment variables. This lets your application read the secrets from its environment at runtime.
You can now manage your application's secrets through Infisical without needing a `.env` file.
## Next Steps
Understand how projects, environments, folders, and secrets fit together.
Deliver secrets to production with SDKs, agents, Kubernetes, and CI/CD.
Set up a secure local development workflow for your whole team.
Scope who can access which environments and paths.